How to Send a Client Feedback Request
Follow these steps in the Client Feedback Tool (CFT) to send a client feedback request.
1. Start a New Feedback Request
From the Modern Dashboard, click the Send Client Feedback button blue "+" icon
Alternatively: Expand the left-hand navigation bar (click the arrow) and select + Client Survey.

2. Select or Create a Project
Start typing the project name or number in the search box. If it exists, it will appear in the list.
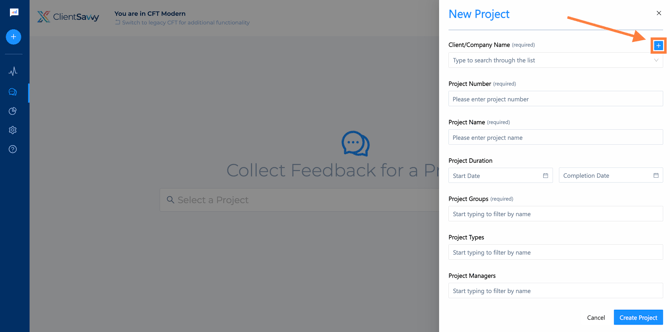
If the project does not exist, the user can create one by selecting the blue "+" icon.
To create a project:
- Assign a Client/Company (start typing to search or click the blue + to add a new one).
- Enter a Project Number and Project Name
- Assign Project group(s)
- Optional: Add Start/End Dates, Project Type(s), or Project Manager(s)
- Click Create Project
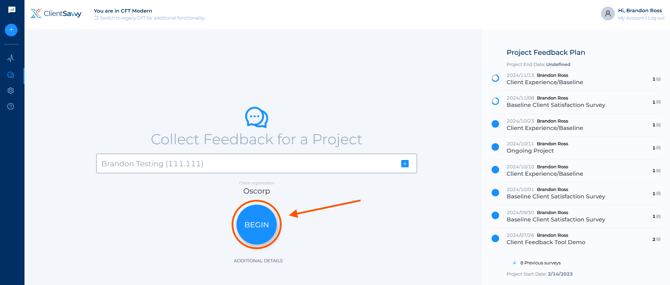
Once your project is ready, click Begin.
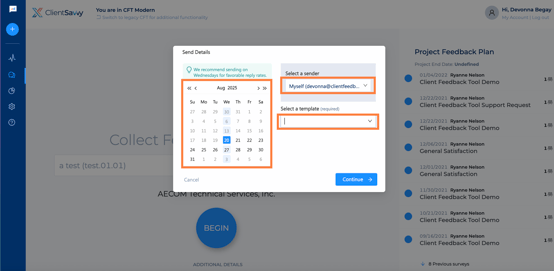
A pop-up window will appear.
-
Choose the Send Date from the calendar.
-
Select a Sender (permission dependent).
-
(Optional) Copy settings from a previous request.
-
Choose a Survey Template from the dropdown.
-
Click Continue.
3. Add Recipients
Start typing a name or email address to add recipients.
- If they already exist in the system, their information will appear automatically.
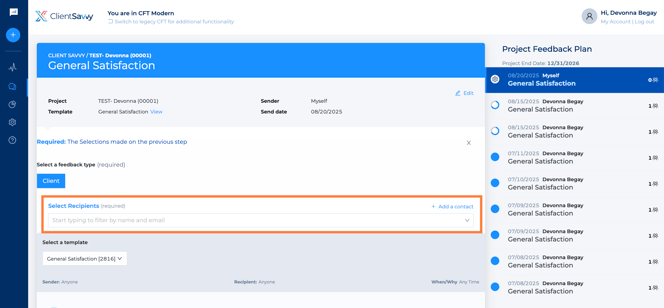
To create a new contact:
-
Click Add a Contact
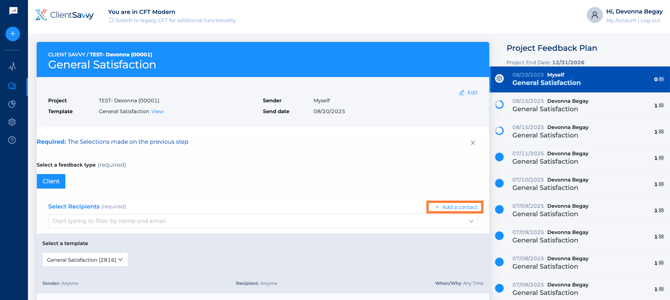
-
Enter the contact's First Name, Last Name, Email, and Client/Company Name
-
Click Create Contact

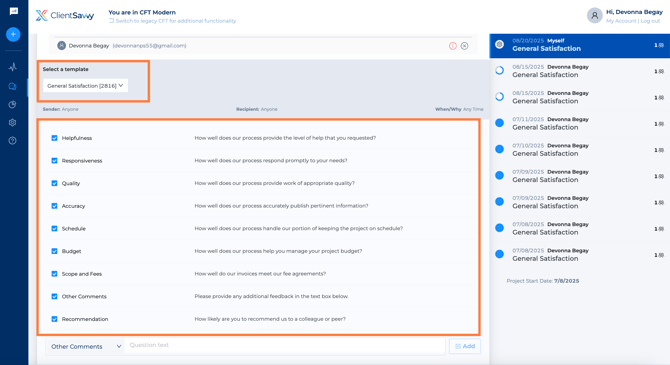
4. (Optional): Review and Customize the Survey
- Review the survey questions included in your chosen template.
-
To change:
-
Select a different template from the dropdown OR
-
Add/remove questions as needed.
-
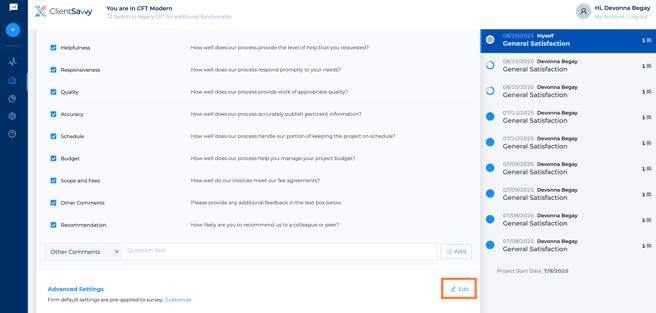
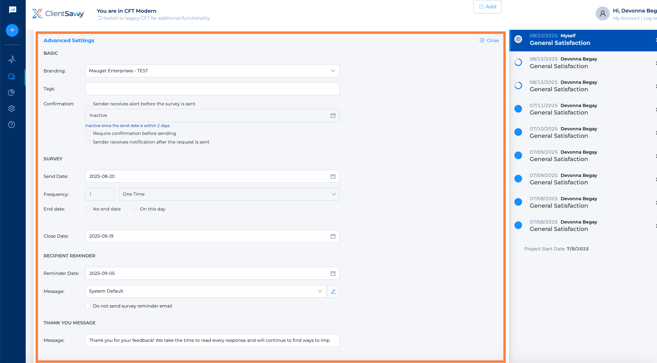
5. (Optional): Adjust Advanced Settings (If a template is already set up, these settings will be pre-filled. You can skip this step unless you need to make changes.
Click the edit pencil to expand settings.
-
Branding: Choose from available branding options.
-
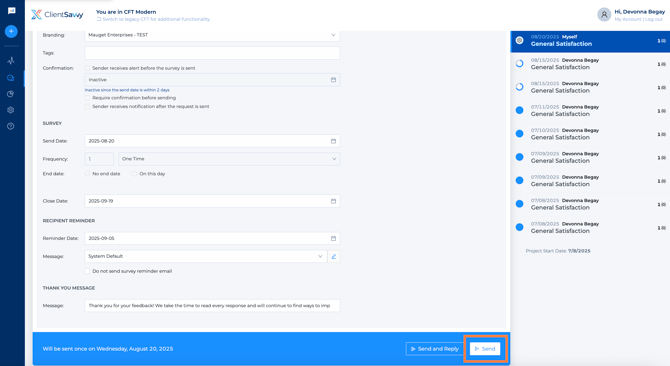
Invitation: Set send date, frequency, message (usually “System Default”), and end date.
-
Reminder: Pick a reminder date and message (System Default is recommended). You can also choose not to send a reminder.
-
Approval Reminder: Set a send date
-
Thank You & Closing: Edit the Thank You message and set the survey close date.
6. Schedule the Request
Click Send to confirm.
